obdexpress
CG CGDI GODZILLA KEY CUTTER
Le 29/09/2019
CG CGDI Godzilla Automotive Key Cutting Machine--Pre order are welcomed
Weight: 20kg;
With 7 inch operation screen
Operating mobile or PC is supported
With inner and outer slot clip
With built-in battery (optional)


For sale:
http://www.obdexpress.co.uk/wholesale/cg-godzilla-key-cutter.html
 Commentaires textes : Écrire
CG CGDI GODZILLA KEY CUTTER
Le 29/09/2019
CG CGDI Godzilla Automotive Key Cutting Machine--Pre order are welcomed
Weight: 20kg;
With 7 inch operation screen
Operating mobile or PC is supported
With inner and outer slot clip
With built-in battery (optional)
For sale:
http://www.obdexpress.co.uk/wholesale/cg-godzilla-key-cutter.html
- Commentaires textes : Écrire
OBDSTAR X300 Pro4 vs. X300 DP PLUS
Le 27/09/2019
| Function | Prouduct Photo | |||
| X300DP Plus | X300 Pro 4 | Remark | ||
 |
 |
|||
| Available Or Not | ||||
| Software (Immo) | Programming Keys | √ | √ | |
| Erase Keys | √ | √ | ||
| Programming Remote | √ | √ | ||
| Read Key Numbers | √ | √ | ||
| Pincode Reading | √ | √ | ||
| EEPROM Chip Read | √ | √ | ||
| OBDII Diagnosis | √ | √ | ||
| Cluster Calibration | √ | × | ||
| Diagnosis | √ | × | ||
| ECU Clone | √ | × | ||
| ECU Programming | √ | × | ||
| Oil Service Reset | √ | × | ||
| Other Special Functions | √ | × | ||
| RT100 Remote | √ | × | ||
| Luxury Models Coverage | √ | × | Lamborghini/ Maserati/ Ferrari/ Bentley/ Alfa Romeo/Abarth | |
| Specification | Opration System | Android5.1.1 | Android5.1.1 | |
| Camera | supported | × | ||
| CPU | Exynos4418 Dual Core ARM Cortex A9 1.4GHz | RK3128 quad-core, ARM Cortex A7@1.2Ghz | ||
| Battery | 3700mA, rechargeable polymer lithium battery | 2600Ma lithium ion | ||
| Extension Memory Card | 32G Micro SD(TF) card supported | 32G Micro SD(TF) card supported | ||
| Storage Capacity | 32GB | 16GB | ||
| LCD | 8.0 inch | 5.0 inch | ||
| LCD resolution | 1280*800 | 800*600 | ||
| Touch screen | Capacitive touch screen | Capacitive touch screen | ||
| Wi-Fi | supported | supported | ||
| Working Temperature | -10℃~55℃(14℉~131℉) | -20℃~55℃(14℉~131℉) | ||
| Storage Temperature | -20℃~70℃(-4℉~158℉) | -20℃~70℃(-4℉~158℉) | ||
| Weight | about 1.0kg | about 700g | ||
| Dimension | 254mm*174mm*35mm | 140mm*89mm*18mm | ||
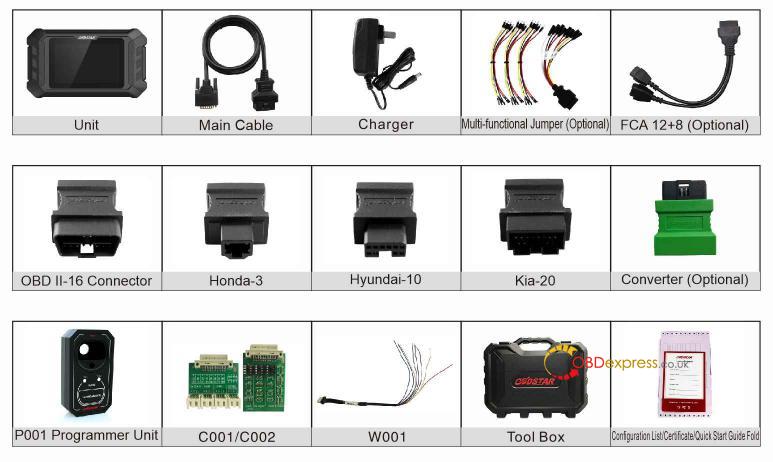
| Accessory | 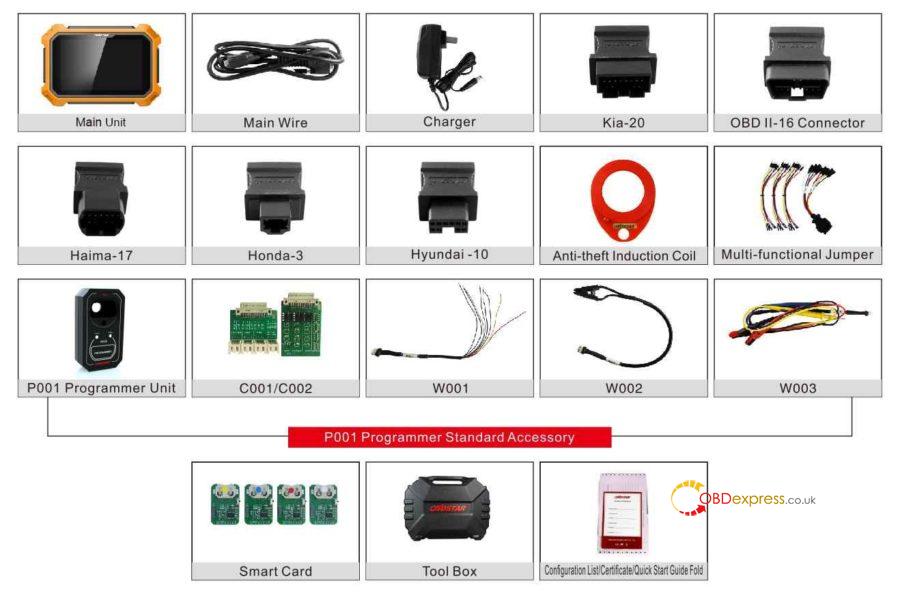 |
 |
||
- Commentaires textes : Écrire
How to set GM MDI 2 wireless connection?
Le 26/09/2019
Firstly offer the procedure on how to set GM MDI 2 wireless connection, then solution to GM MDI 2 software error "Not connected to MDI".


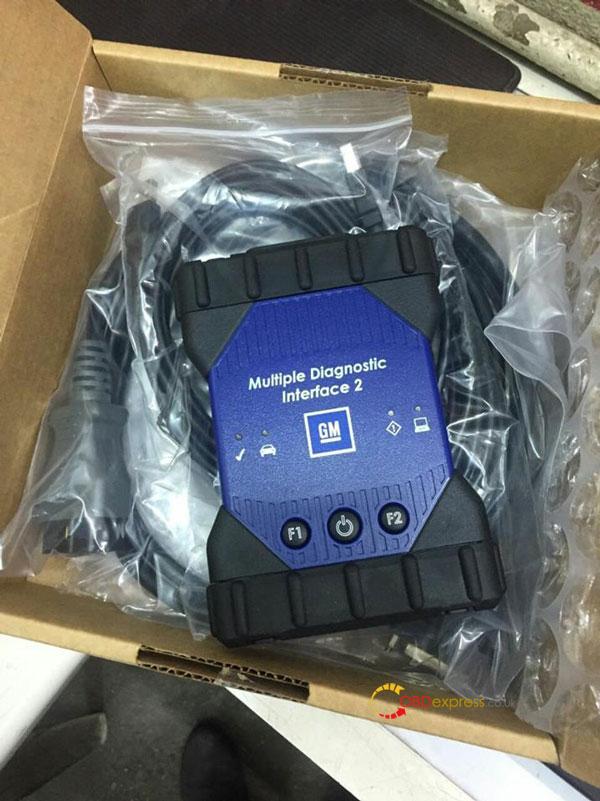
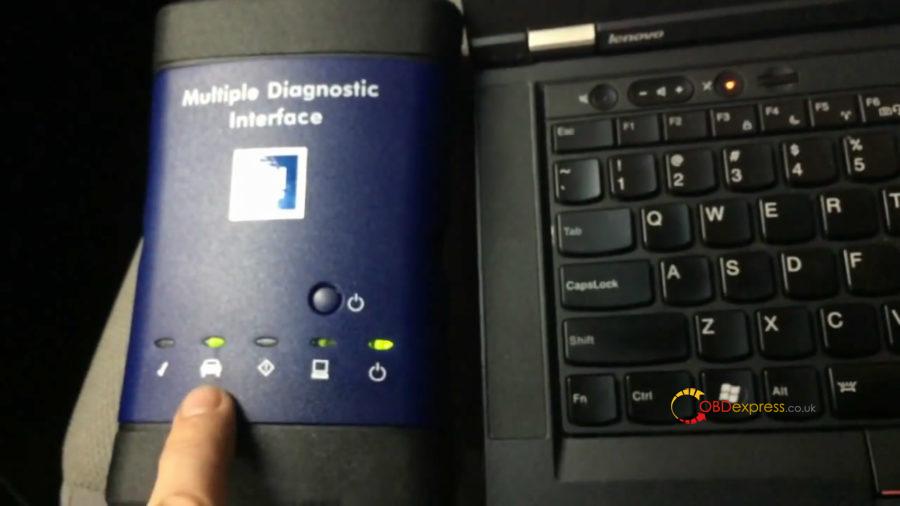
This is the GM MDI 2 hardware I have:
Part 1: How to set GM MDI 2 wireless connection:
Watch Youtube first:
What to do if MDI failed to connect on Wireless interface?
Check the wireless card is properly seated in the WiFi GM MDI.
Confirm LEDs on the wireless card are lighted when the MDI is powered.
Verify the MDI and PC are within range of the Access Point or Router.
Verify that the PC is connected to the Access Point or Router.
Verify signal strength of the wireless network from the PC.
Check Firewall Settings on your PC
USB connection takes precedence, unplug USB cable.
Wired Ethernet connection takes precedence, unplug Ethernet cable.
Connect to MDI using USB and run MDI Manager to verify the Wireless Settings are
configured correctly.
o Wireless interface is enabled.
o AP settings configured for proper security (authentication, encryption).
o Signal Quality (fair, good, excellent) indicates connected to AP.
o The MDI, PC and AP are on the same subnet
o If using static IP, verify the IP Address and Subnet mask are correct (supplied by network
administrator.
Part 2: GM MDI "Not connected to MDI" solution
All what you need do is to refresh the GM MDI firmware.
Details at: http://blog.obdexpress.co.uk/2015/12/08/gm-mdi-meet-not-connected-to-mdi-error-and-solution/
Source: http://blog.obdexpress.co.uk/2019/09/26/how-to-set-gm-mdi-2-wireless-connection/
- Commentaires textes : Écrire
How to use GM MDI clone for Chevrolet SPS Programming?
Le 25/09/2019
This article is available with the method to use GM MDI scanner the for GM SPS Programming in what is known as J2534 mode for calibration updates. This can be for the ECU or any programmable module in the vehicle, such as the EBCM, TCM, Radio, or IPC that you may want to reflash.
IMPORTANT: Pay very close attention to the instructions around power cabling and battery readiness as a power fluctuation during an SPS programming procedure can permanently damage a controller module.
Applies to the genuine Vetronix, ETAS or Bosch built MDI as well as high quality Chinese clones (sp163-c, sp163-d, sp163-e) equally and for all makes under General Motors such as Chevrolet, Buick, GMC, Cadillac, Oldsmobile, Pontiac, Hummer, Saturn, Opel, Vauxhall, and Saab.. The programming is illustrated using a 2012 Chevrolet Cruze ECO and the www.acdelcotds.com subscription service features using a Techline PC using J2534 mode to update the instrument panel controller (IPC).
Applicable to model year 2011 and up, which is when the Tech2 ended and was fully replaced by the GM Multiple Diagnostic Interface tool, or MDI and MDI 2, and TIS 2 Web subscriptions.
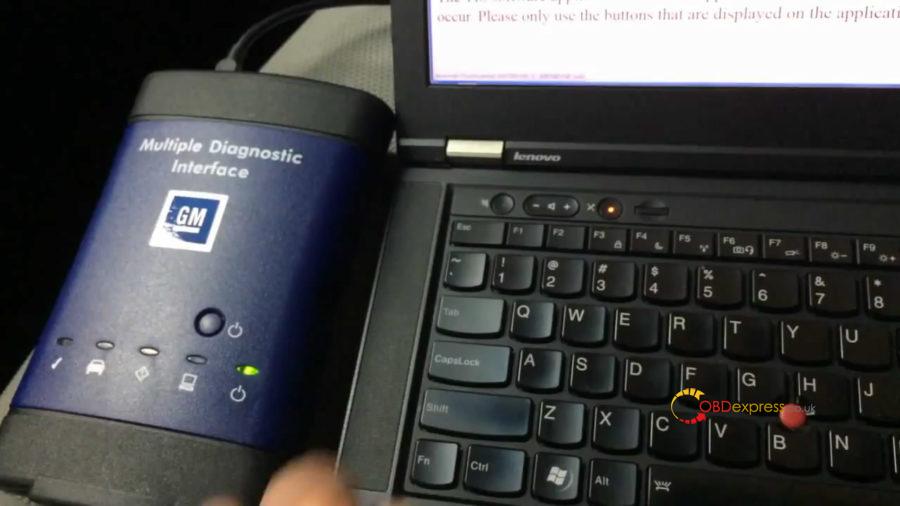
Here are GM MDI multiple diagnostic tool high quality clone:
Procedure for SPS programming on 2012 Chevrolet Cruze ECO:
- Login ACDelco for subscription.
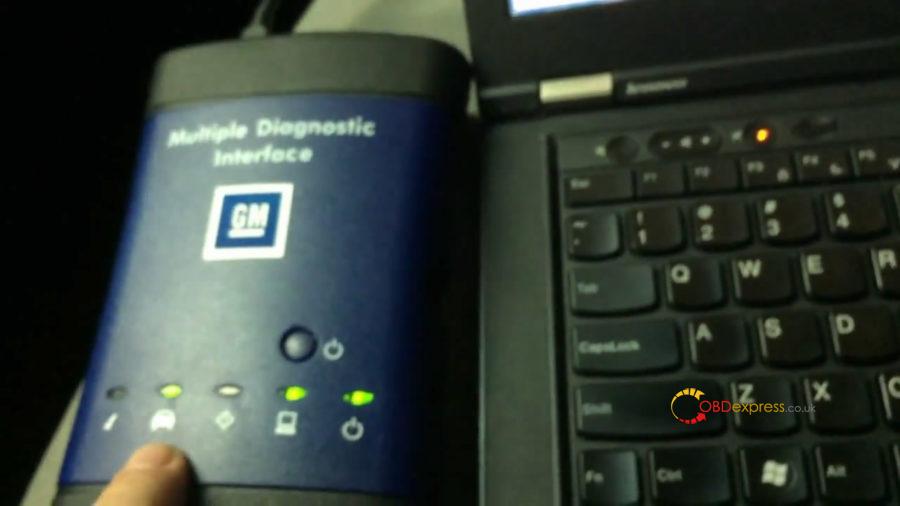
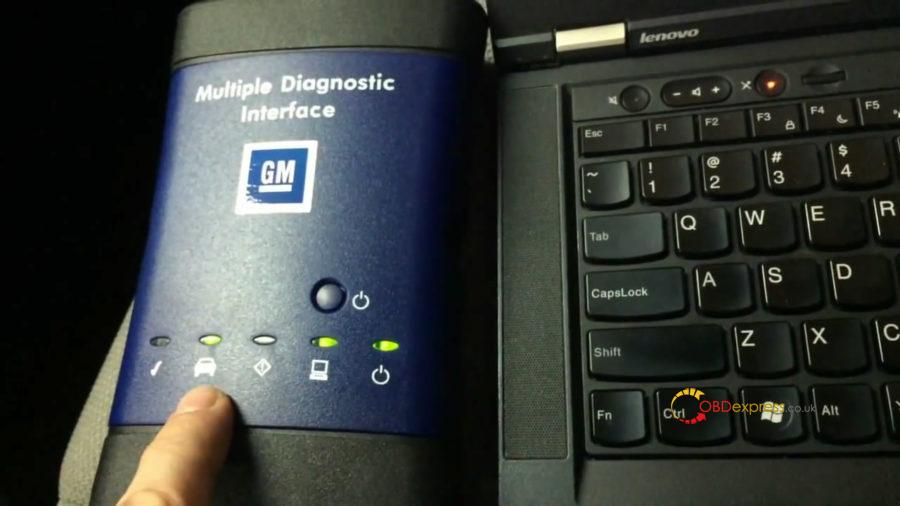
- Connect GM MDI to the vehicle's diagnostic port, and get connected through USB to the back of the laptop. It's taking the power through the vehicle and the vehicle has a battery that's fully charged and good and strong for this. We got our laptop for awake not gonna to sleep.
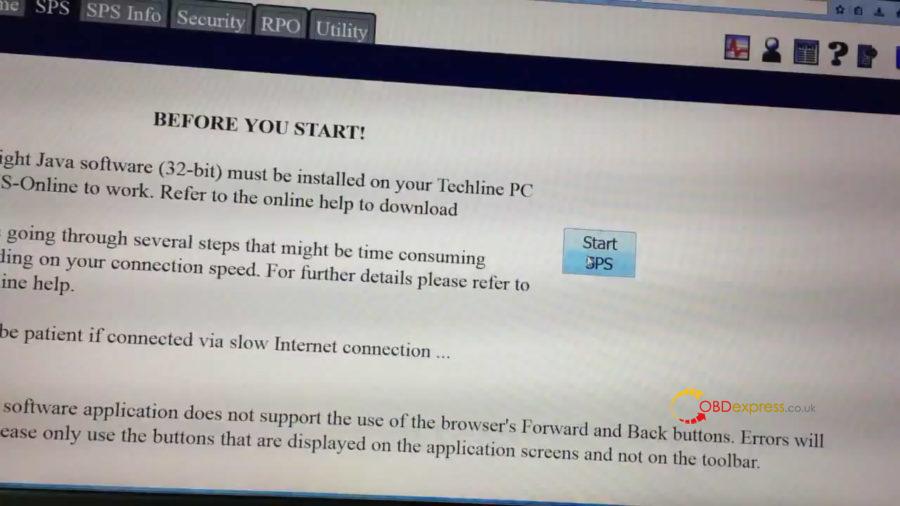
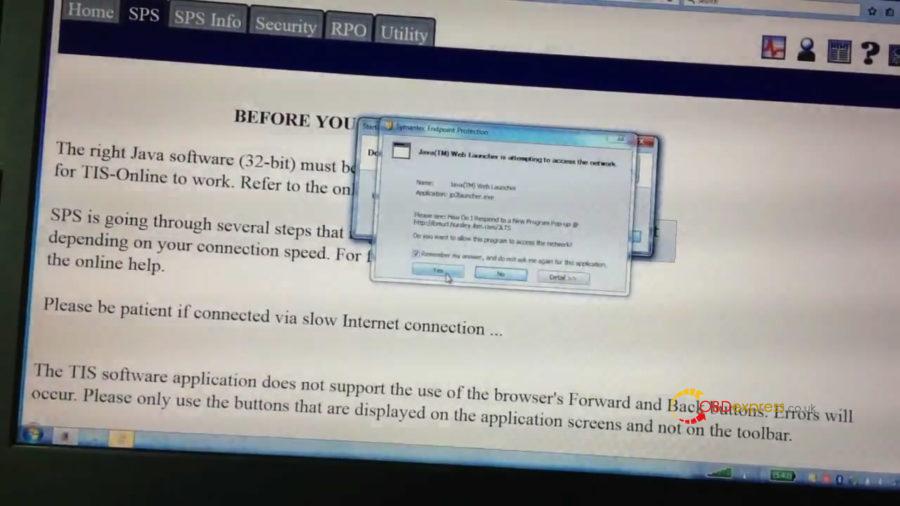
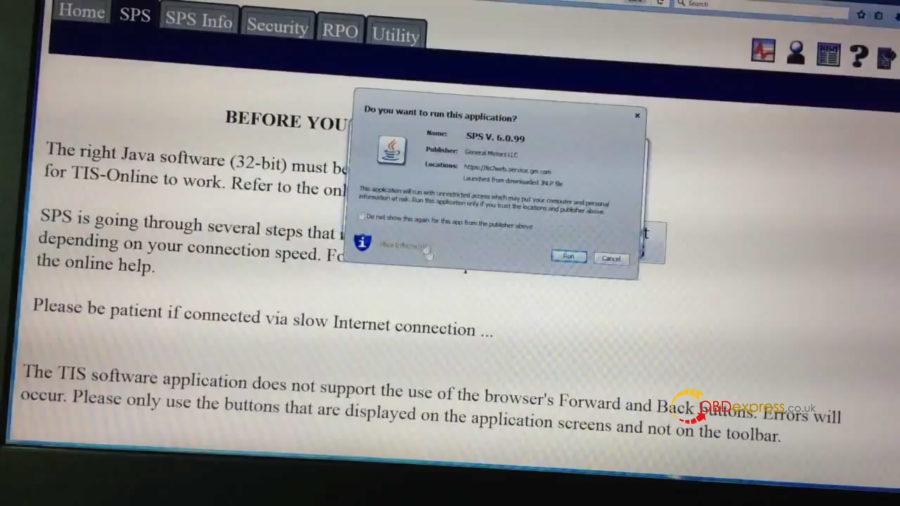
- Enter into SPS, click on "Start SPS" which is a server-based Java Web.
A few security prompts to go through here and then we can run this.
- Here connect up through the WIFI on the laptop (Wifi may has problem, so I don't like Wifi).
I gonna actually use MDI tethered to USB.
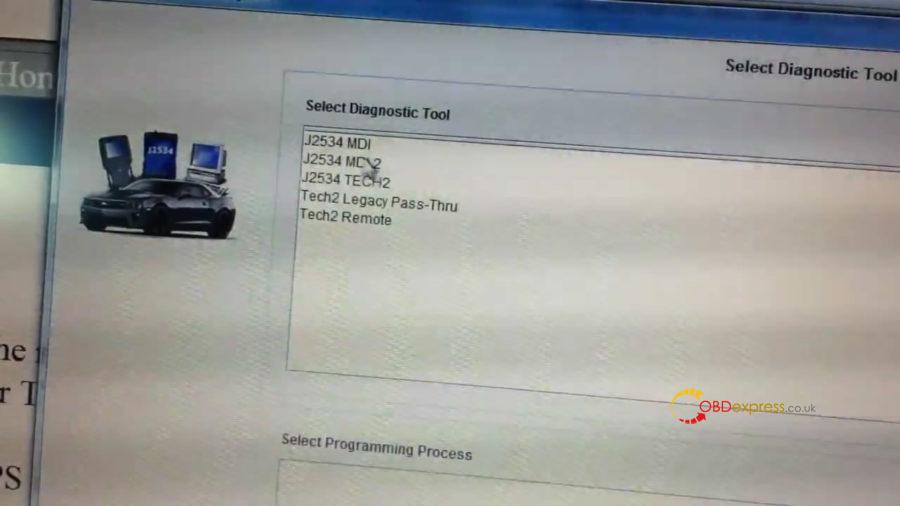
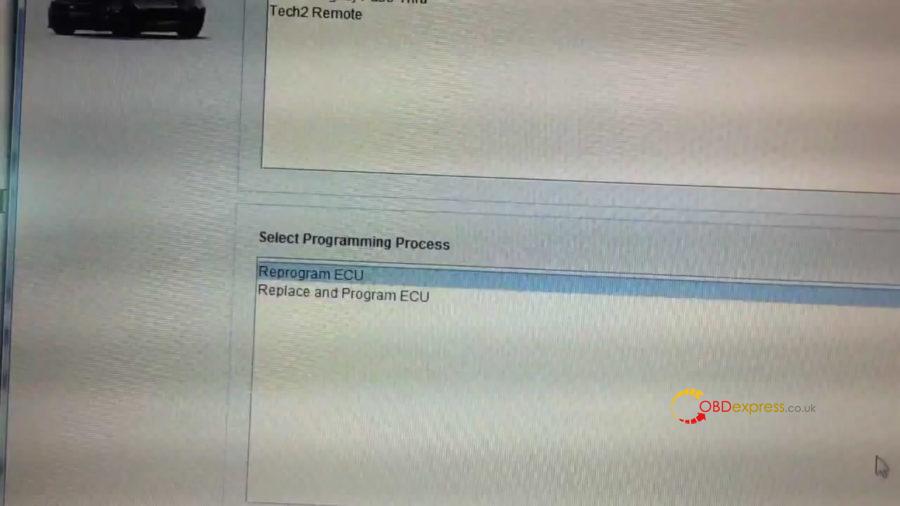
- Now we're gonna show J2534 MDI. And we are going to reprogram an existing ECU.
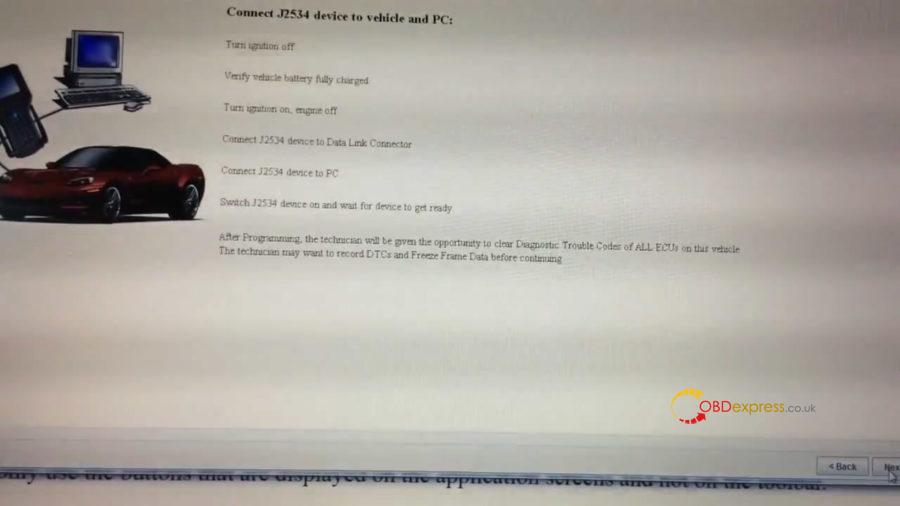
- Ok, it's talking about making sure everything's connected properly.
- Turn ignition off.
- Verify vehicle battery fully charged.
- Turn ignition on, engine off.
- Connect J2534 device to Data Link Connector.
- Connect J2534 device to PC.
- Switch J2534 device on and wait for device to get ready.
- After programming, the technician will be given the opportunity to clear diagnostic trouble codes of all ECUs on this vehicle. The technician may want to record DTCs and Freeze Frame Data before continuing.
- Pick Chevrolet 2012 passenger car and Cruze.
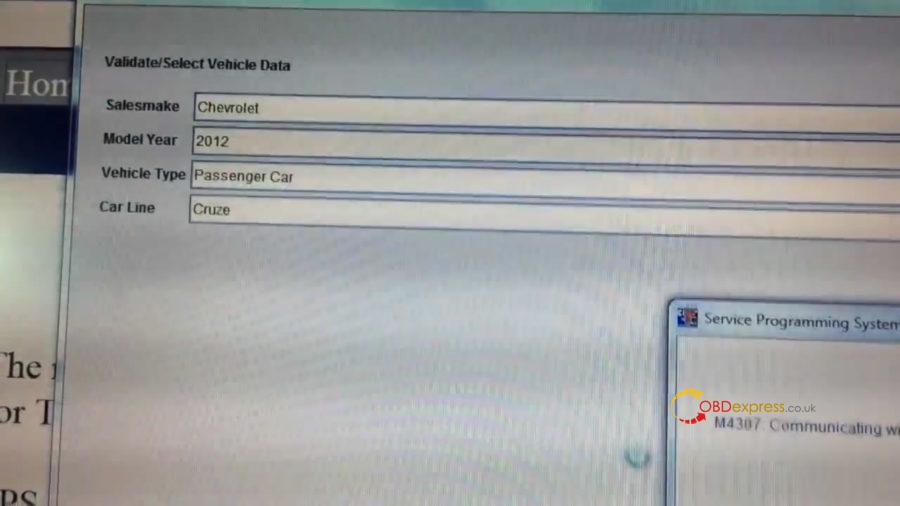
- It's going to do some communication with the vehicle through the GM MDI.
We see we gave connected the vehicle. You can catch it momentarily.
- Go to next screen. This is the list of our controllers that we could potentially do a calibration update.
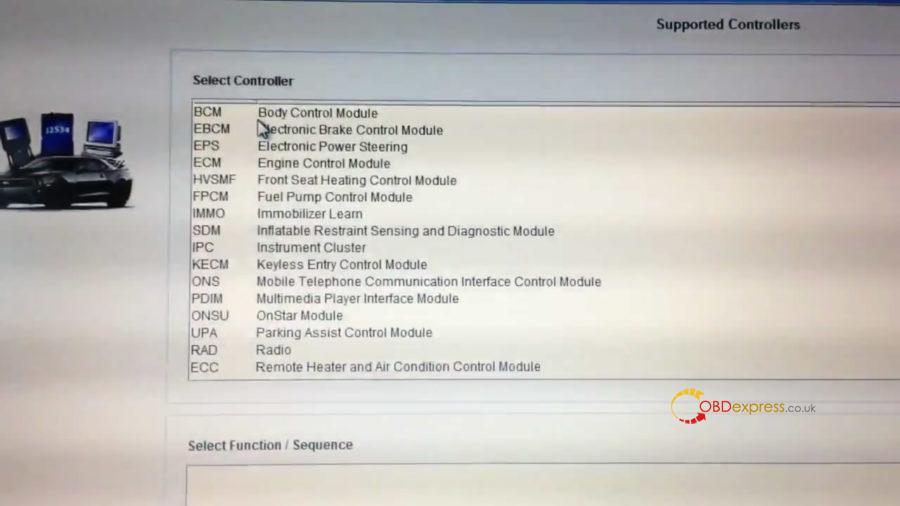
- This particular vehicle everything is updated already except for the instrument cluster.
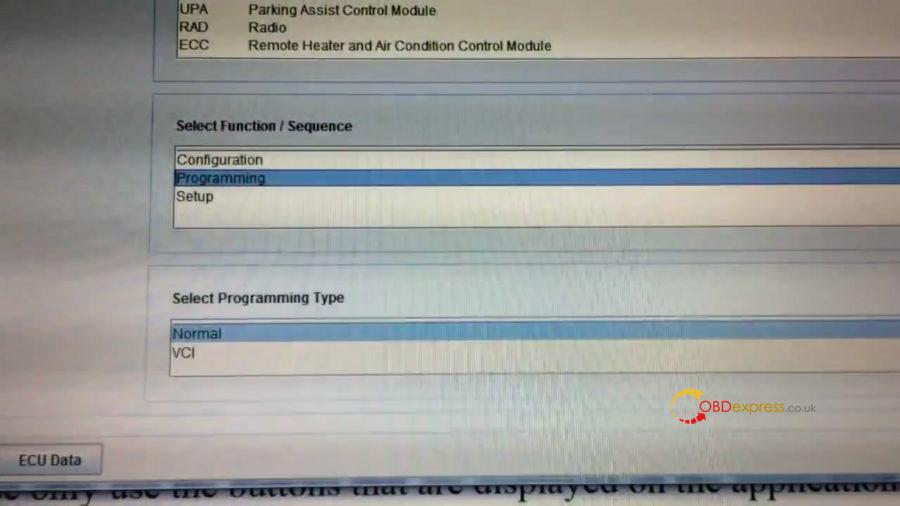
So that's what I'm going to be showing you, so I'm gonna select "Programming". Because it's already configured and setup and we're gonna be doing normal.

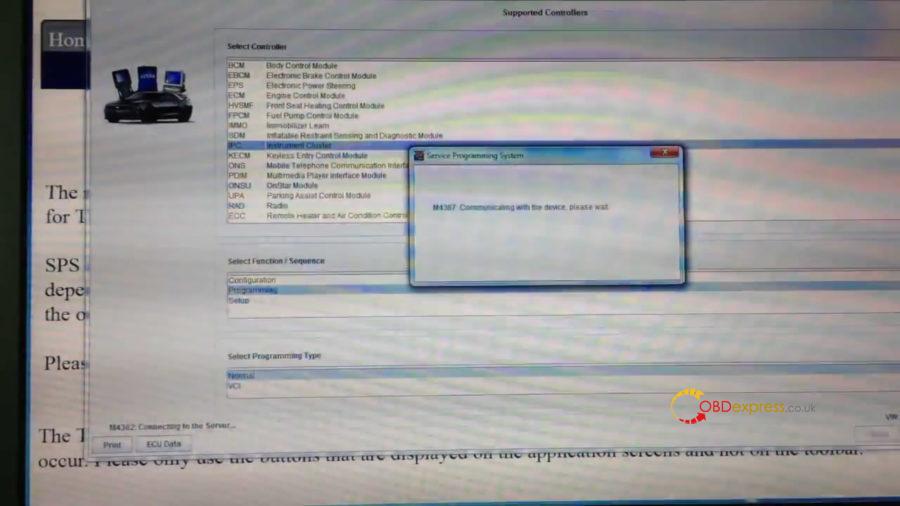
- With the next screen here we see at this point you know we have communication with the computer and communication with the vehicle.
That's confirmed by what we see on the screen connecting to the server. Communicating to the device.
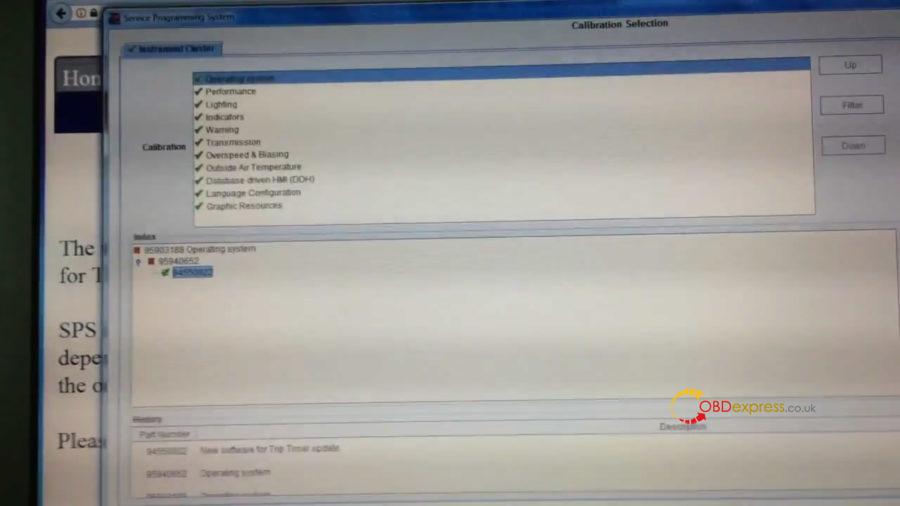
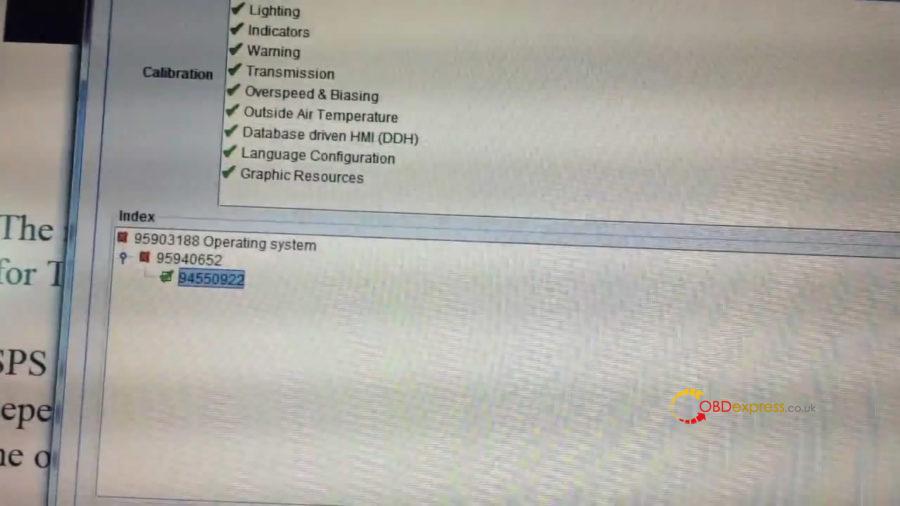
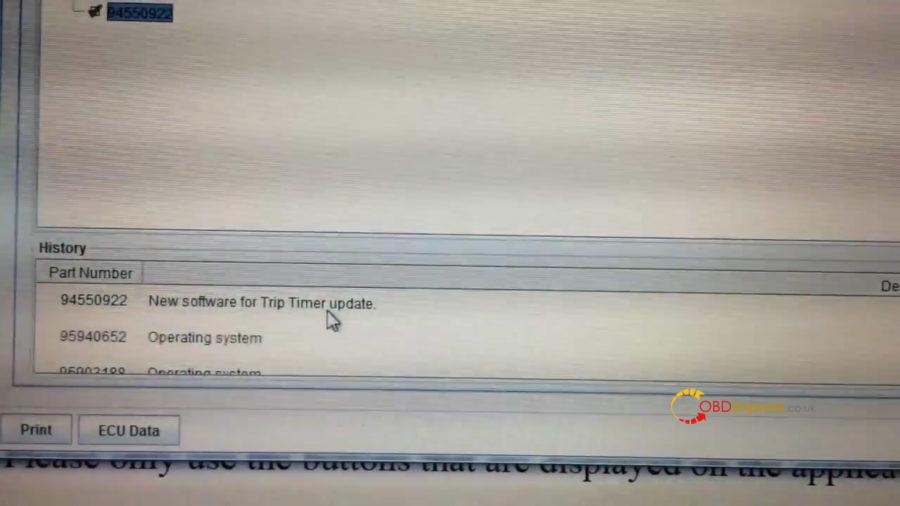
- On this screen, we can see the operating system for the edged instrument panel.
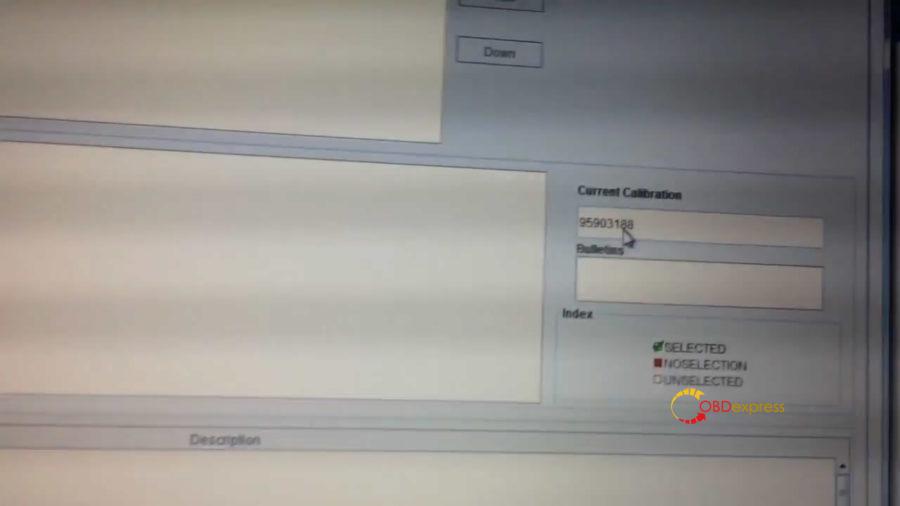
- Current calibration is 95903188, which is the very original one and we can see there's two sense manufacturing in the vehicle (562 and 922).
552 doesn't really have any information, it just says a stop ring system, but 922 says they were that update for the trip timer.
So we are going to go ahead and take this update (trip timer update)
Click "Yes" to confirm to update.

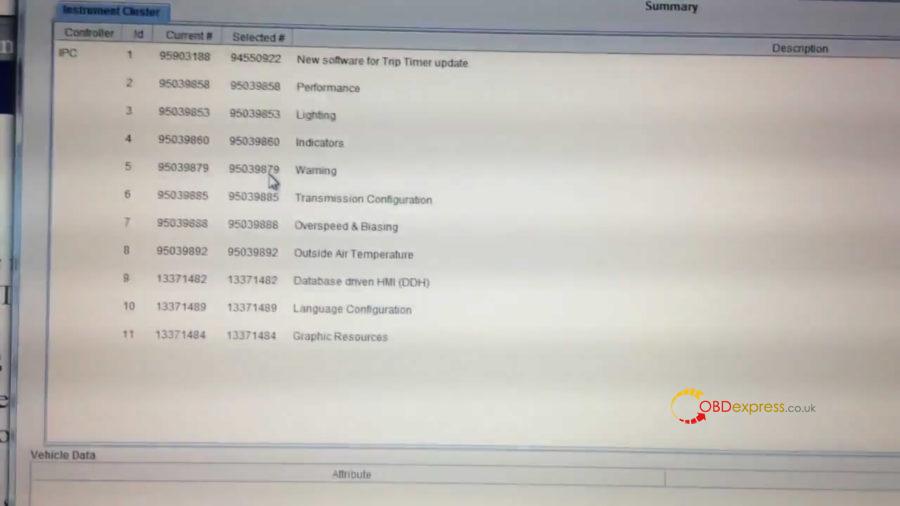
- In some cases, there might be some other modules that get updated as well.
But in this particular case it looks like everything else stays the same it's just our operating system updates, that's great.
- Now before I started this since I'm updating the instrument panel. I did take a note of the vehicles mileage and vehicles current trip meter setting and other things like that, just in case I get asked to enter that sometimes with other vehicles. I have been asked that I don't know if I will this time or not.
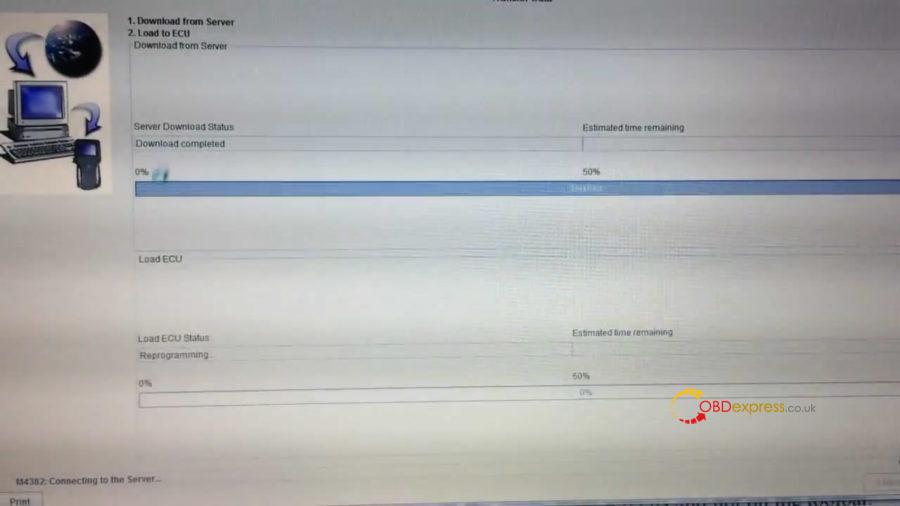
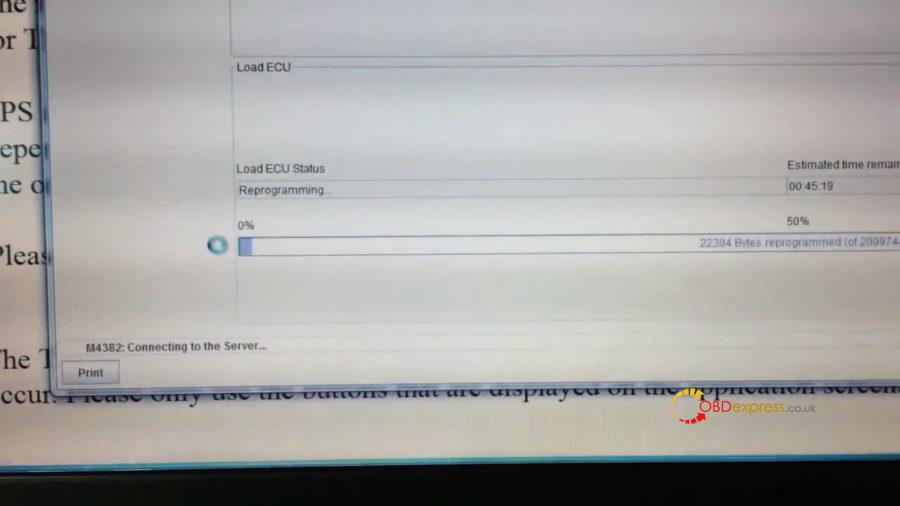
- All right, we are downloading the information onto the laptop. Looks like that has completed so now we're gonna start doing the last piece which is moving it from the laptop over to the instrument control, the instrument cluster controller.
We can see we are communicating with the PC and vehicle.
and we are communicating with the sever and we're slowly doing download from the laptop through the MDI to the vehicle controllers.
Looks like we got some status over here about two megabytes of information.
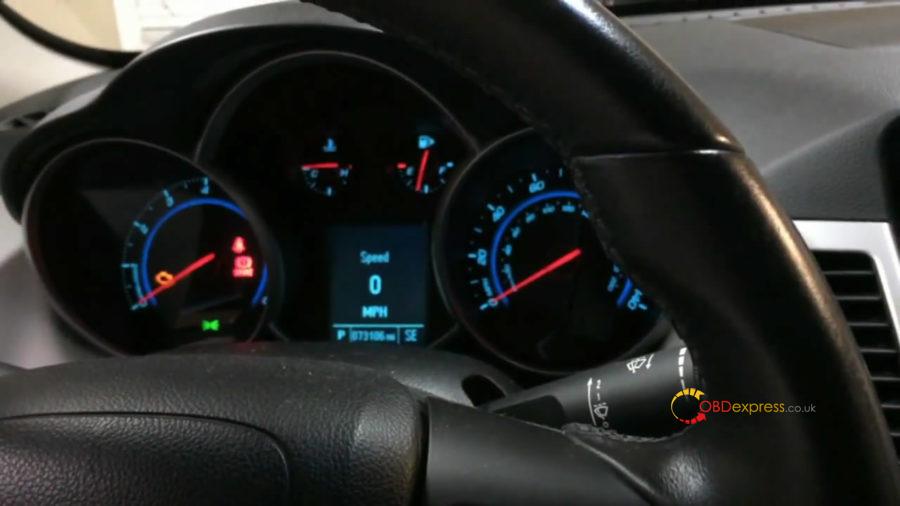
So this is gonna take a little bit. Guys we're down to the last minute here. We can see over here on the MDI we're still chugging away I din't want to you see. Very briefly on the instrument cluster itself while this is going on so it's nothing to freak out about. It'll completely blanked out except for the check engine light over.
And the radio will also be blanked out during this programming.
So that's just normal, because we are updating the cluster.

- You can see our instrument cluster as rebooted and I see my mileage is still there, so that's good.
That was the case normally when you replace instrument panel cluster you've got a re and put the mileage. But I was hoping that just an in-place update wouldn't ask for that.
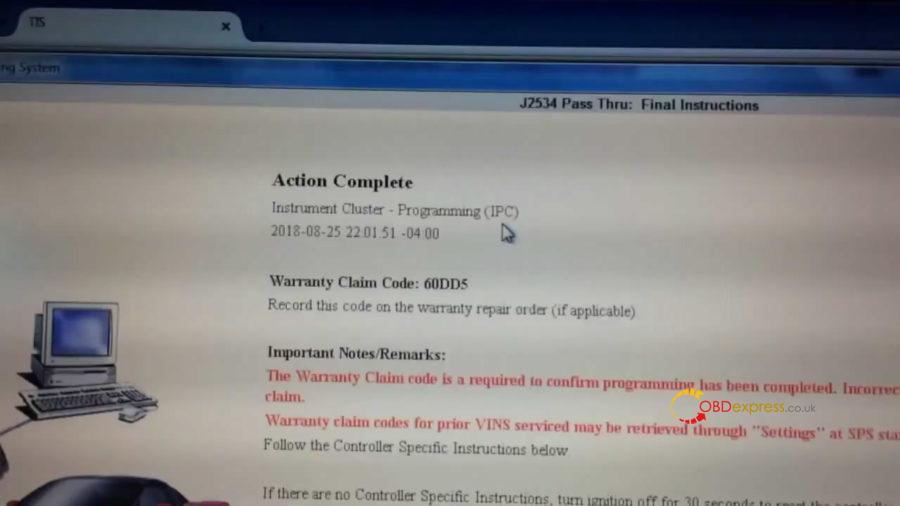
And so we see back over here, we go no activity on the MDI at this point and then over here we got final closing screen you know success we have this action complete that we've done this programming on the instrument panel cluster.
And we're looking down here to see if there's any special instructions, and again we have here is just the generic information about clearing DTC's.
We're done.
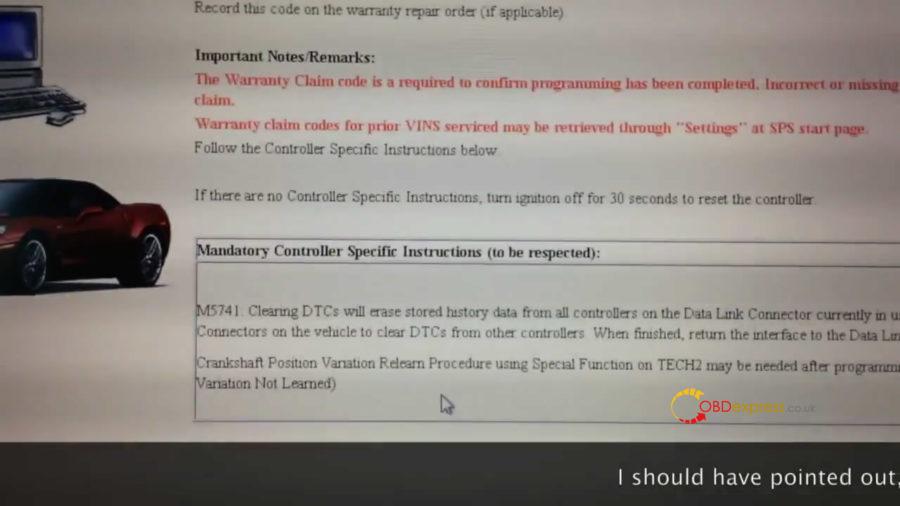
That's all.
Thanks
Source:http://www.obdexpress.co.uk/service/how-to-use-gm-mdi-for-chevrolet-sps-programming.html
- Commentaires textes : Écrire